This post may contain affiliate links. As an affiliate, we earn from qualifying purchases. We get commissions for purchases made through links in this post.
Generator maintenance is essential to ensure it runs smoothly and safely. Depending on the type of generator you have, there may be different maintenance requirements. Most generators will need regular services such as an oil change and filter replacements every fifty hours of operation or once per year, whichever comes first.
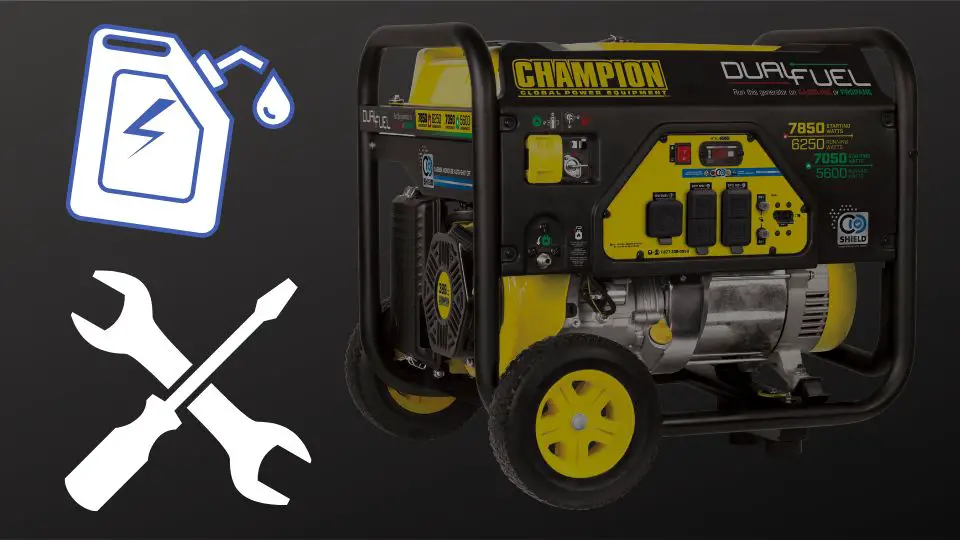
To ensure optimal performance and safety, it’s recommended that you take your equipment in for generator service at least once a year.
Generator Maintenance Checklist
It’s nice to have a generator maintenance checklist to refer to when it comes time for servicing.
- Check the oil level and replace it as needed
- Replace the air filter
- Inspect the spark plugs (unless you have a diesel generator)
- Inspect the belts and hoses for wear or cracks
- Clean or replace the fuel filter
- Check the coolant level
- Inspect the battery and cables for corrosion
How often should generator oil be changed?
The frequency of changing generator oil depends on several factors such as usage, environment, and type of oil used. However, as a general guideline, it is recommended to change the oil the first time after 5 hours when running a new generator Then, the next oil change should happen every 50 hours of operation or once a year, whichever comes first. It’s always best to consult the manufacturer’s recommendations for specific maintenance schedules based on your generator’s make and model.
What kind of oil does the generator use?
Most generators use standard 10-W30 motor oil, however, you should always check your manufacturer’s manual for specific oil requirements.
How do you check the oil level on a generator?
To check the oil level on a generator, follow these steps:
- Make sure the generator is turned off and on level ground.
- Locate the oil dipstick, which is usually a long, thin rod with a handle, inserted into the generator’s oil fill cap.
- Remove the dipstick, wipe it clean with a rag, and insert it back into the fill cap.
- Remove the dipstick again and check the oil level. The oil should be between the two marks or indicators on the dipstick.
- If the oil level is low, add oil through the fill cap until it reaches the full mark.
- Reinsert the dipstick, making sure it is securely in place, and check the oil level again to confirm it is at the correct level.
Note: Make sure to use the correct type and grade of oil specified by the generator’s manufacturer.
It’s important to keep your generator well-maintained so that it operates safely and efficiently. In addition, many modern generators come with a low-oil sensor to help you have a piece of mind.
When should the air filter be replaced?
The air filter in a generator should be inspected regularly and cleaned or replaced as needed. A dirty or clogged air filter can reduce the efficiency and performance of the generator and cause damage to the engine over time.
It is recommended to inspect the air filter at least once a month and clean or replace it when necessary, or at least once a year, whichever comes first. For heavily used generators or those operating in particularly dusty or dirty environments, the air filter may need to be inspected and cleaned or replaced more frequently.
If the air filter is dirty, it should be detached from the air filter assembly, then cleaned and washed with liquid detergent. After that, it should be squeezed to remove all the water from it and then squeezed dry with a clean cloth. It should also be left in the open until it fully dries. Then, it must be saturated with clean engine oil on one side and then the excessive oil must be removed using a clean cloth. After that, a cleaned filter must be installed back into an air filter assembly.
If the air filter is damaged, it should be replaced with a new one to prevent damage to the engine and ensure optimal performance.
Always consult the manufacturer’s recommendations for specific maintenance schedules based on your generator’s make and model.
What should be done to inspect and replace spark plugs?
Inspecting and replacing spark plugs is an important part of maintaining a generator’s engine. Here are the steps to inspect and replace spark plugs:
- Locate the spark plugs: Refer to your generator’s manual to locate the spark plugs.
- Remove the spark plugs: Using a spark plug socket and a ratchet, loosen and remove the spark plugs.
- Inspect the spark plugs: Inspect the spark plugs for wear, damage, or deposits. If the spark plugs are worn or damaged, they should be replaced. If the spark plugs are covered in deposits, they can be cleaned.
- Clean or replace the spark plugs: Clean or replace the spark plugs as needed. If cleaning the spark plugs, use a spark plug cleaning tool or a wire brush to remove any deposits.
- Gap the spark plugs: If replacing the spark plugs, gap them to the manufacturer’s specifications.
- Install the new or cleaned spark plugs: Install the new or cleaned spark plugs into the engine, and tighten them with the ratchet and spark plug socket.
- Test the generator: After replacing or cleaning the spark plugs, start the generator and let it run for a few minutes to ensure it is running smoothly.
It is recommended to inspect and replace the spark plugs at least once a year or according to the manufacturer’s recommendations based on your generator’s make and model.
Note: Before beginning any maintenance on a generator, it is important to follow all safety precautions and follow the manufacturer’s instructions and recommendations.
What is the routine maintenance of the generator?
Routine maintenance for a generator includes:
- Regular oil changes and filter replacements
- Replacing spark plug(s)
- Cleaning or replacing the fuel filter
- Checking coolant levels
- Inspecting belts and hoses for cracks or wear
- Inspecting the battery and cables for corrosion
In addition, it’s important to adhere to the manufacturer’s recommended maintenance schedule. This will ensure that your generator runs smoothly and safely for many years.
It is also important to perform regular visual inspections of your generator. Check for signs of damage or wear, such as loose screws and bolts, corroded parts, or anything else that doesn’t look quite right. These things can affect the performance of your generator.
Lastly, use approved parts and accessories when servicing your generator to ensure it runs properly. Make sure to follow the instructions provided by the manufacturer to avoid problems or accidents. Taking these steps will help keep your generator running safely and efficiently for years to come.
What to do if your generator won’t start?
There are a few things you can do to troubleshoot if your generator won’t start. First, check that the fuel tank is not empty. Then check that the switch is in the on position and that all safety features are engaged.
Next, make sure that all the electrical connections are firmly in place and that the spark plugs are properly gapped. If you’re still having trouble, it may be time to replace the spark plug or other parts as necessary.
If you haven’t used your generator for a while and now it won’t start, make sure a starter battery is not discharged and/or use a manual starter if present. Make sure you don’t store gasoline for more than 3 months in your generator, as this type of fuel tends to degrade much quicker than diesel. If this is the case, try adding fuel additives, or, replacing a part or entire old gasoline with a new one.
If none of these steps seem to be working, there may be an issue with the generator itself and you should call a certified technician for assistance. They can help diagnose the problem and provide you with a solution to get your generator running again.
How to clean a generator?
To clean a generator, follow these steps:
- Turn off the generator and disconnect it from its power source
- Use a clean cloth and a non-flammable degreaser to wipe down the exterior of the generator, removing any dirt and debris
- Use a soft-bristled brush, such as a toothbrush, to remove any dirt and fuel residue from around openings and vents
- Use an air compressor to blow away any remaining dust and debris from the vents and tires
- Clean the fuel tank and remove any rust or debris
- Check the fuel filter and replace it if it’s clogged
- Repeat the above steps as needed to ensure the generator is running smoothly
Note: Always refer to the manufacturer’s manual for specific cleaning and maintenance instructions for your generator. Do not use flammable cleaning agents on any part of the generator, as the residue could spark a fire when the generator is in operation.
How to store a generator when not in use?
To store a generator when not in use:
- Run the generator until it’s out of fuel or add a fuel stabilizer to a full tank of gasoline and run the engine for a minute to fully distribute the stabilizer throughout the system
- Clean the generator, including the exterior, engine, and vents, using a cloth with a non-flammable degreaser, a soft-bristled brush, and an air compressor
- Store the generator in a cool, dry place, protected from extreme temperatures, dust, and moisture
- Cover the generator with a protective cover to prevent dust and debris from accumulating on it
- Disconnect the battery or disconnect the spark plug to prevent accidental starting
- Consult the manufacturer’s manual for specific storage instructions for your generator
By properly storing the generator, you can ensure that it will be in good condition and ready to use when you need it.
It’s not recommended to store a generator with a full tank of flammable gasoline as it poses a fire hazard. Running the generator until it’s out of gas or adding a fuel stabilizer to a full tank of gasoline can help prevent the gasoline from going bad, absorbing moisture, and causing damage to various parts of the generator. The fuel stabilizer will help preserve the gasoline and keep it from eroding rubber and plastic parts.


5 thoughts on “A Guide to Generator Maintenance”
Comments are closed.